The Build So Far:
Before I even touched a soldering iron, my Switch Lite had already been modified.
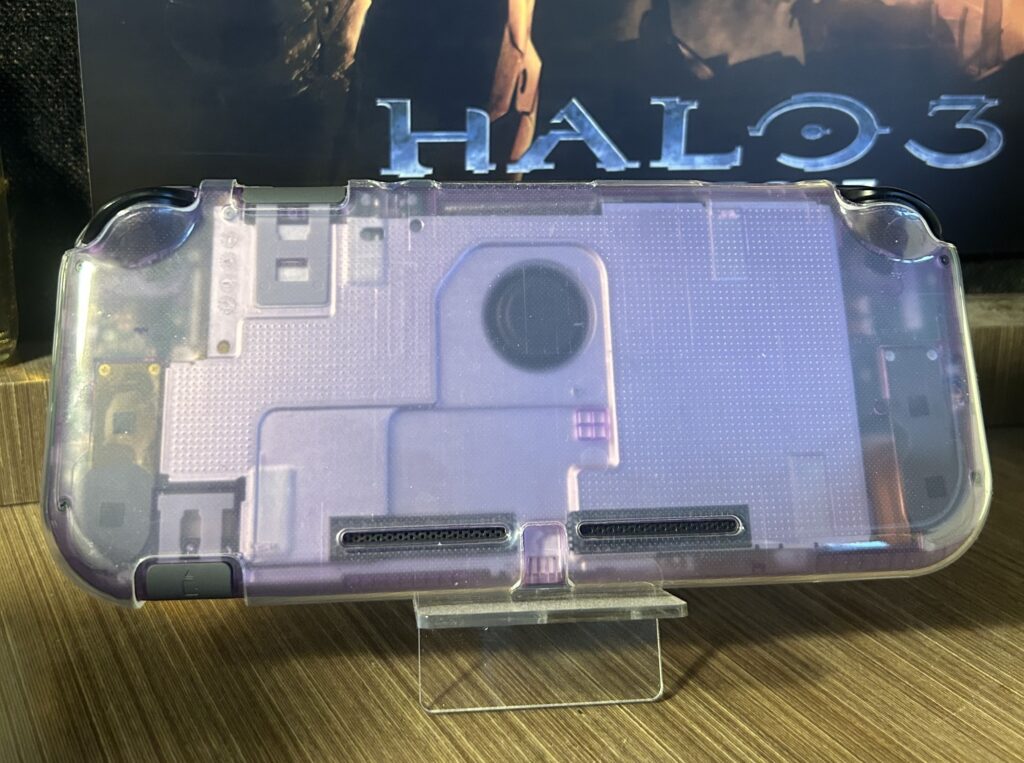
Shell Swap: I replaced the boring grey shell and white buttons with an eXtremeRate Clear Atomic Purple case, and black buttons. This was inspired by the Atomic Purple Gameboy Color.
Controls: I installed black tipped GuliKit hall effect joysticks. They are essentially Joy-Con joysticks, but use contactless magnets instead of wipers to tell position. They feel very premium, have practically no deadzone, and will never drift. I did this also as preventative maintenance, since the joysticks in the Switch Lite are the same in the joycons, and getting to them to replace is a pain.
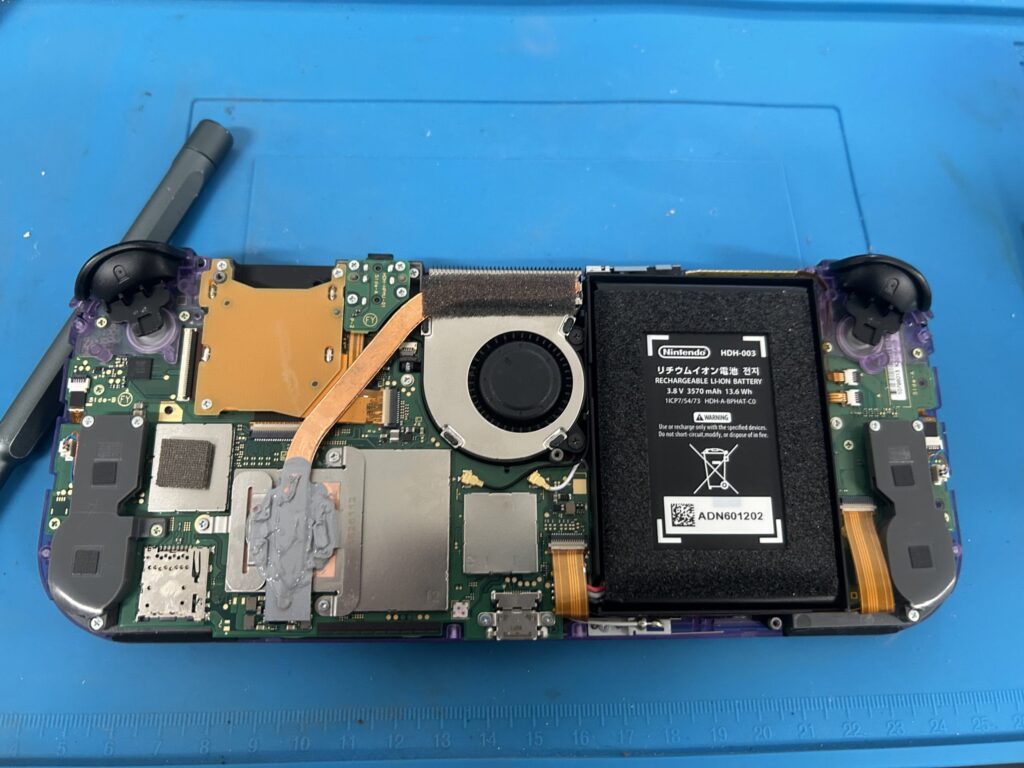
Cooling: While inside, I cleaned and replaced the thermal paste. I went pretty heavy on the Arctic MX4, across both the SoC and the heat pipe. This was to couple the back metal plate with the heatpipe to act as an extended heatsink.
Why Picofly?
I chose to do this mod for 2 reasons:
1. Improving my micro-soldering. The small pads, tiny components, and the need for precision was the perfect opportunity for me to get some practice.
2. Unlocking features. I bought the whole silicon, I’m going to use the whole silicon. I wanted to mess around with overclocking, forcing the system into docked-mode (for better textures and native resolution), back up my own physical cartridges for convenience, and run homebrew applications.
Also, the Switch Lite is my favorite current handheld console, due to its small form factor, reminiscent of the PSP and PS-Vita.
Tools Used:
Soldering Station: Horusdy 2-in1 station, with a T18-B tip (0.5mm). Ran at 350C with leaded solder.
Flux: Essmentuin soldering flux.
Microscope: Cheapie USB digital microscope I got off Amazon, feeding into my laptop to a monitor in front of me.
Insulation: Kapton tape to secure the modchip board, and to protect my solder points on the SoC.
Other: Multimeter for resistance/ground checks.
The Install:
The Switch Lite uses a unique Mariko V2 board, which is mostly the same compared to the standard V2 Switch, besides differently shaped metal shields, and a smaller board size. I bought my Switch Lite specific board online, which was designed to fit without extra wiring. I did have to trim the corner of the SoC’s metal heatsink to make it all fit though.
A few notes from my bench:
-With the motherboard still in the case, the joysticks make it tilt up at an angle, which can be a bit awkward when soldering.
-I used Kapton tape over the SoC resistors to prevent accidental bridges with the heatsink.
-All solder points were checked visually under the microscope and with a multimeter for continuity and resistance. I found the correct diode values on the NX-modchip installation guide website.

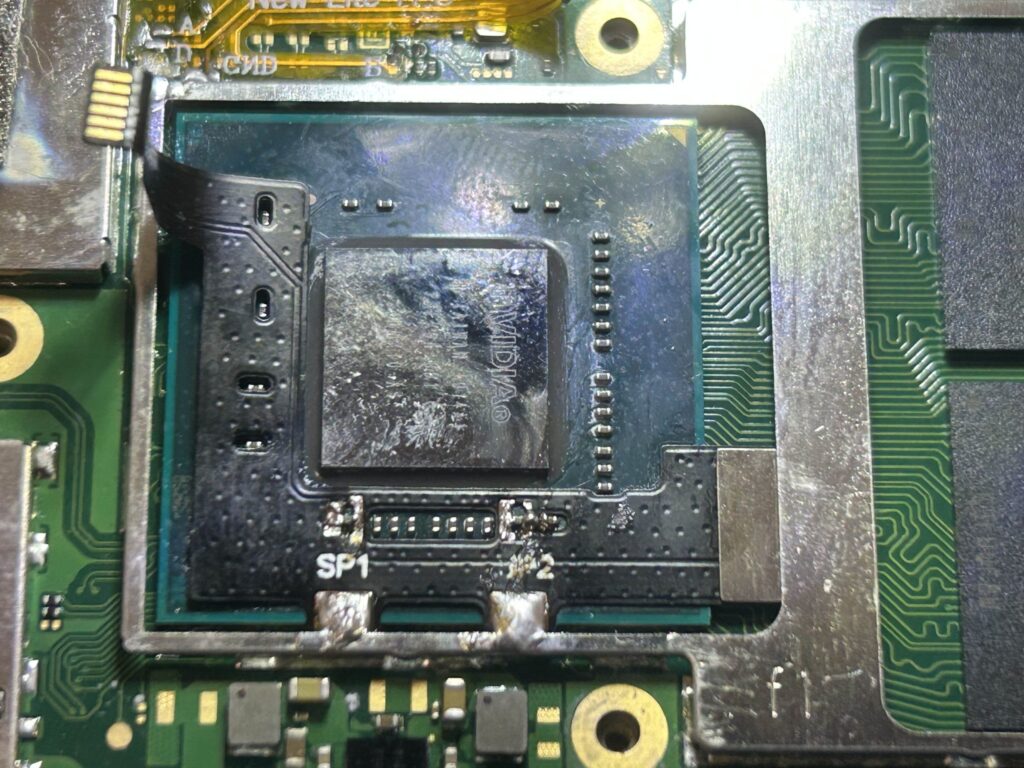
It is actually illegal to judge the burn mark that I definitely didn’t do under the SP2 point. Unfortunately I was very shakey when it came to that point, to I rested my soldering iron on the table for better control. Also, the burn won’t affect functionality, as i still had continuity, and the left side of the resistor is only for ground.
Testing and Results
After checking all the points as previously stated, I reconnected the battery and powered the console on. Thankfully it booted up instantly, which showed a successful installation.
Living With the Build
The Switch has been modded for about 3 months now, and I can confidently say it was 100% worth it. It feels like a premium handheld, the hall sticks are very snappy and precise, the clear shell feels as good as stock and looks fantastic, and the modchip is almost completely invisible from the outside.
Some homebrew highlights I’ve been using include:
Moonlight: For streaming games from my PC.
Tinfoil: For managing modded game saves and updates.
RetroArch: For retro emulation.
Overclocking Utilities: ReverseNX for forcing into docked mode, and sys-clk utility for messing around with CPU, GPU and Memory clocks.
Wrapping Up
With a new shell, hall effect joysticks, and a PicoFly modchip, my Switch Lite feels like the best version of itself (minus the OLED screen mod, which is still currently sold out). This has been one of my best projects, as it is a culmination of the best of my skills, and also allows me to squeeze the most out of one of my all-time favourite handhelds.
Also a big shoutout to the GBAtemp forums and the SwitchMod guides and community. Their extensive documentation and support took out nearly all the guesswork, and make the install far smoother.